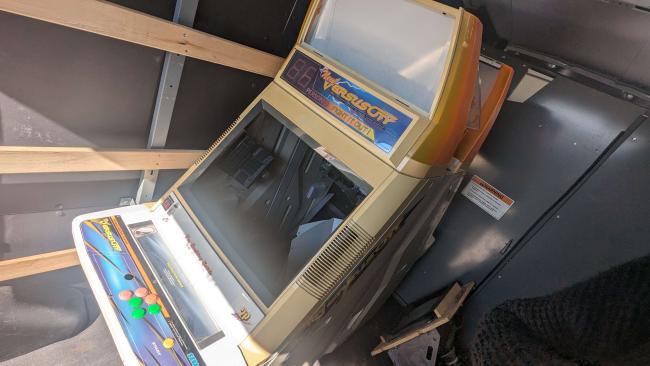
I take back what I said about getting the cab downstairs! I had a good pour over the machine and see how much we can take it apart to make it manageable to move easily. So that is possible.
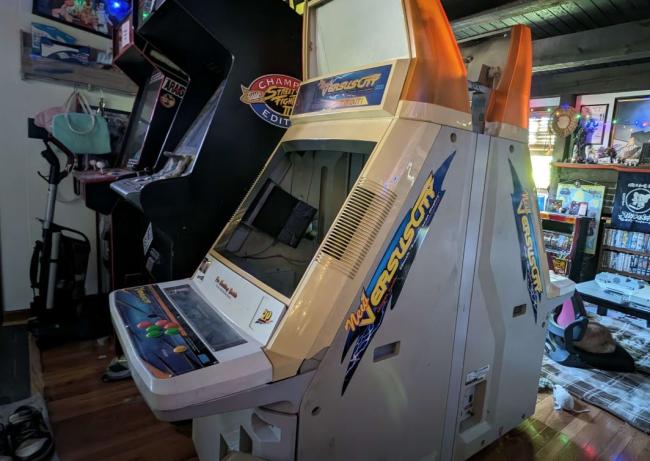
That aside I found out this cab was an "Export" Model from Japan.
Differences:
7seg Display Holder - Left, "Export" Ver., right "Domestic" Ver.

Control Panel Box - Left, "Export" Ver., right "Domestic" Ver.
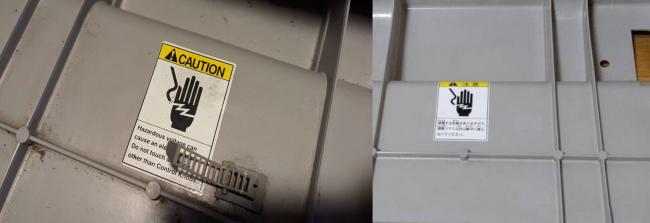
Same goes for all the warning labels, they will all be in English on this Export Ver.
Not a big fan of the English Ver. of the 7seg Display Holder but not going out of my way for the "Domestic" Ver., unless it's purchased for other parts you don't find normally separate.
Power:
Important part of the differences section. First thing you may notice is here, the 220V tags:
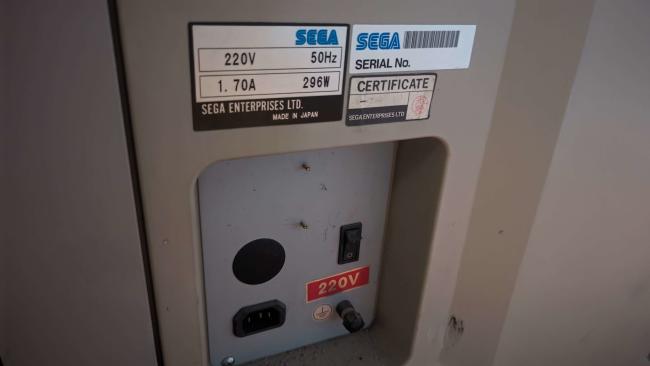
I've read other posts where people tried to figure out what this transformer was (a lot of speculation), but never saw it confirmed, and this is still speculation until a future post. This looks to be wired for 220V on the Primary side to 120V on the secondary side (possibly 110/100V?).
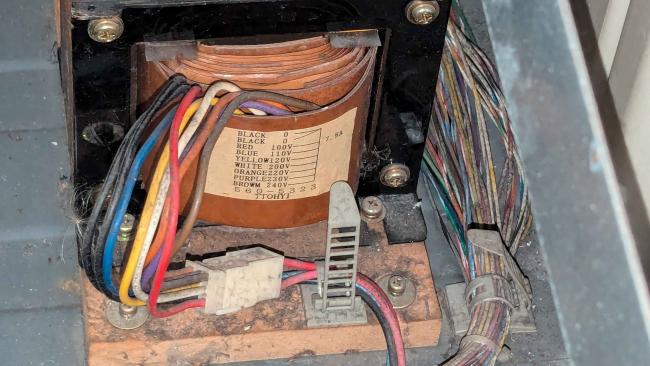
It's a very versatile export transformer too,
Primary:
GND
GND
100V
110V
120V
Secondary:
200V
220V
230V
240V
This will be a post on it's own but I will write a walkthrough on eliminating this transformer through a single plug if possible. The idea is that you would unplug the harness to the transformer and plug in this other end, it will pass the 120V across. I need to look at what the Main PSU on this cab actually requires. Is it 90V-240V? It does not seem old enough that it would be expecting 100V, but due to multiple transformer sections in the manual.
I would imagine every single cab has a transformer in it, each just wired to which ever spec the manual calls for (I need this manual!) .
Stuff Ordered:
A few things on the way. First the 1P side has a VC panel and 2P has an NVC so I bought another NVC panel. Then I saw that River Service had these super hot things on their website and took a shot at ordering a pair,

This is a rough up of how they would look,
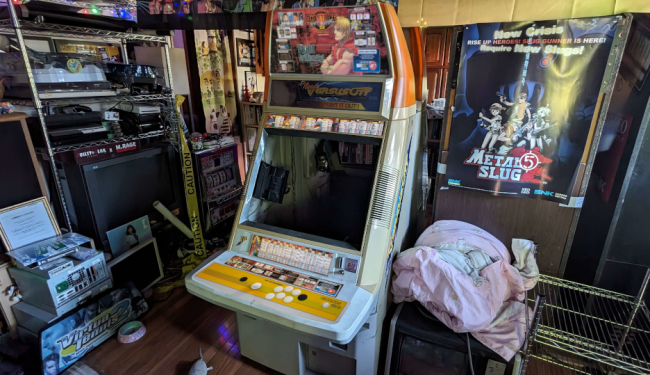
Update, out of stock!!! Got my eye on these..
Currently, we got a couple broken bits. The clear plastic faces for the billboards are toast.
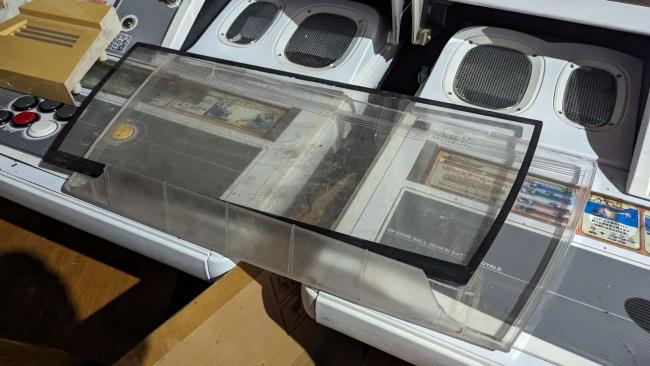
Ended up buying an entire billboard face just for this part,
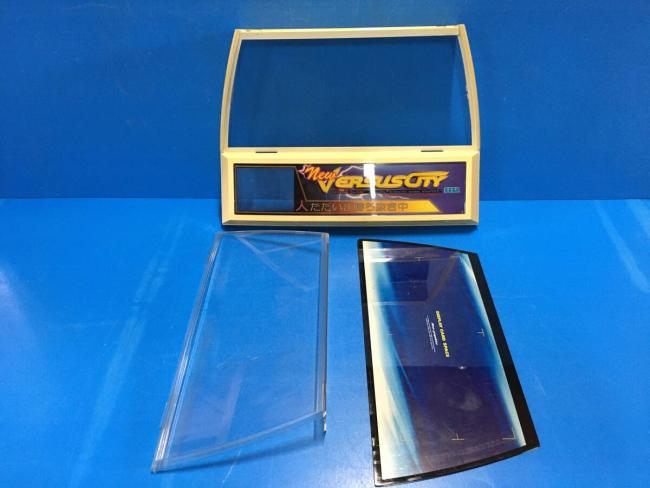
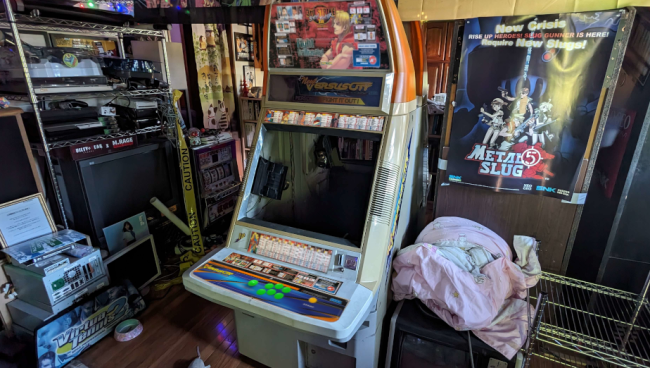
Still need a second one, and have a lead on one, so it's just a waiting game for another to come up. Would love if just the clear part was for sale! Save on shipping and hopefully maybe cost less. The parts are cheap at least anyway. Then I've got some art kits on order for 3rd Strike, one is Ken for 1P side and Ryu on the 2P side. Wanted to do a quick photoshop to get an idea of how this would look,
I also ordered a pair of these denomination stickers, I thought these would fit the Araiguma vibe perfectly
 Blast-City-Coin-decal-1.jpg
 (Size: 27.42 KB / Downloads: 12)
Something else I really need but couldn't find scanned online is the Sega New Versus City manual. Got lucky in finding one just happen to be sitting for sale on a Japanese auction site,
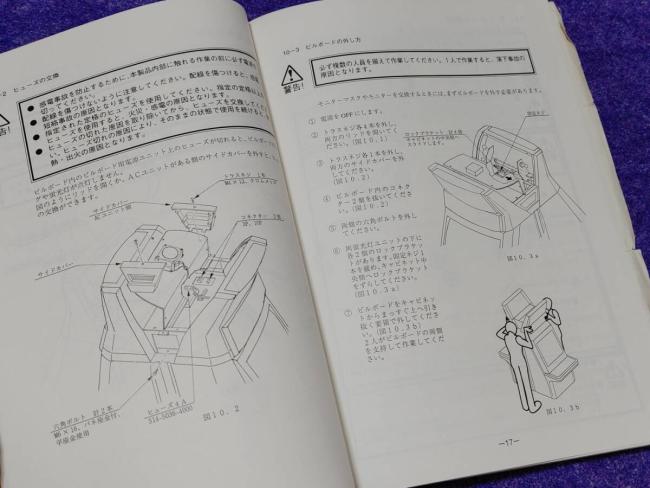
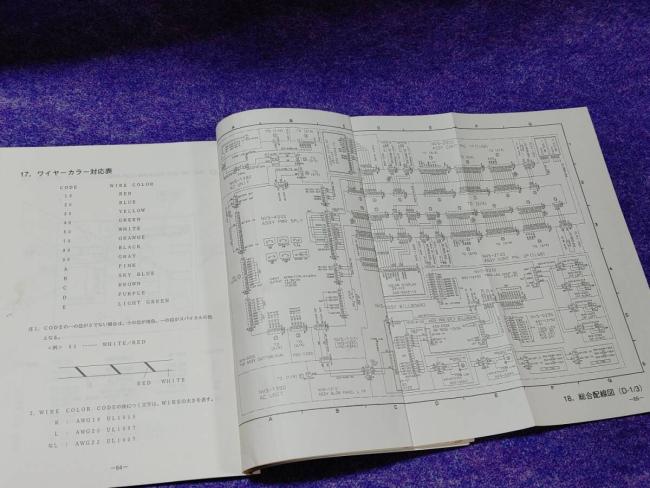
Mechanically it looks to be all the same except for the topper (I don't know the name of the assembly till that manual gets here -- will update this) and so far all the wiring ive seen from the VS CITY manual matches the NEW VS CITY. Lighting will be different but all super dumb AC circuit so whatever.
I also bought this Control Box (as the assembly is called) for really cheap, and it is NOT from the New Versus City but the OG Versus City
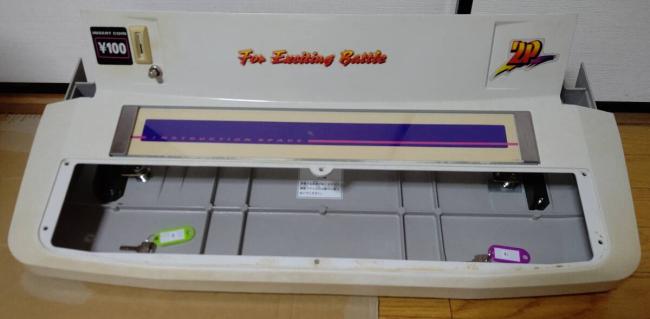
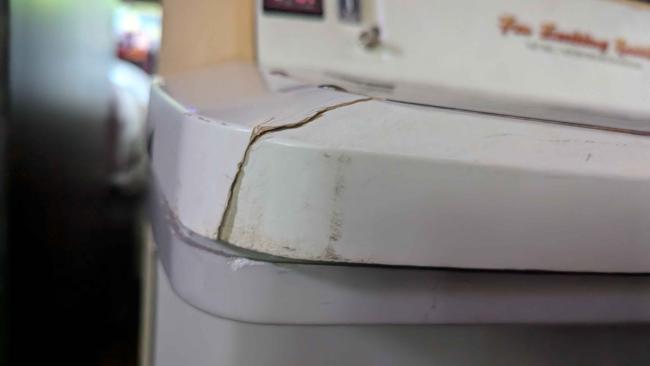
If you look here, this is my current 2P side. We're cracked, about to snap off in the front (I will bench this and work on it when my new one comes in to go on the cab), and it's missing lock hardware.
Then over here on the 1P side, we're missing the instruction space! So what I can do is swipe the Instruction Space hardware from the broken 2P side, move that to the 1P side! So it covers a lot of bases off this one part.
Next up on ordered parts, a bunch of shielded (only matters for the video, but it was most cost effective to use across the board) multi-conductor cable. Also connectors! Because as you see here, quite a lot of harnessing is missing:
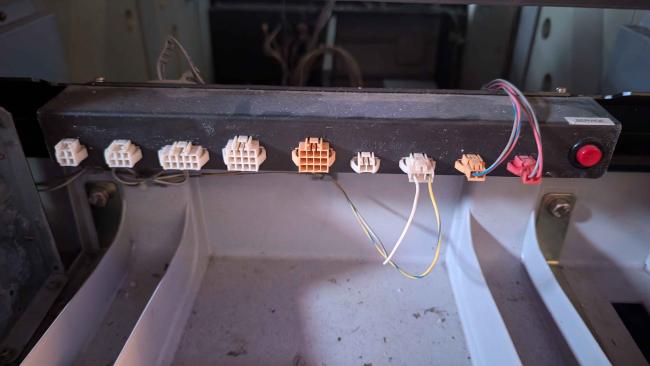
These are old UP or Universal Power connectors from AMP, which is now owned by TE. TE still produces them! From left to right we got:
(R = Receptacle, P = Plug aka Female and Male)
Disconnect Panel : Mate Required
4P-UPR : 176273-1 (Display Power)
6P-UPR : 176274-1 (Display Signal)
10P-UPR : 176288-1 (
Button 4, Button 5, Button 6, Common Ground)
12P-UPR : 176278-9 (1P Side Control Panel - Start / L / R / U / D / Button 1, Button 2, Button 3, Common Ground)
12P-UPR : 176278-9
(Will ID when SCH arrives)
2P-UPR : 176271-1
(Will ID when SCH arrives)
3P-UPR : 176272-1
(Coin Switch? Will ID when SCH arrives)
2P-UPR : 176271-1 (Audio +/- Left)
2P-UPR : 176271-1 (Audio +/- Right)
I list mate required because anyone who runs into this situation, where all the harnessing is gone with the monitors and control panels, you can know what you need. I'm also going to label this panel...
Next post likely going to be a simple art kit post!
 NeSiCaXZXxxLiveCamz ]
 NeSiCaXZXxxLiveCamz ]


